How to Make Salad in a Jar
- Tips and How To's
- 04/22/15
- Share
Easy to pack, easy to store, incredibly efficient and unquestionably delicious - if salad in a jar isn't your favorite snack yet, here's why it should be.
The time it takes to prepare a cooked lunch is often a little bit of a hassle. It's even harder if you're on the go, and reheating tends to compromise the flavor of many meal favorites if leftovers are on the menu. With salad in a jar, all of the steps are made simple, eating on the go is a breeze and it can be made well ahead of time to enjoy whenever and wherever you see fit.
With the ingredients of a favorite salad, a jar and a FoodSaver® Regular Jar Sealer, packing healthy snacks for the week ahead takes just a few minutes. Here's everything you should know about preparing this green leafy treat.
It's All About the Layers
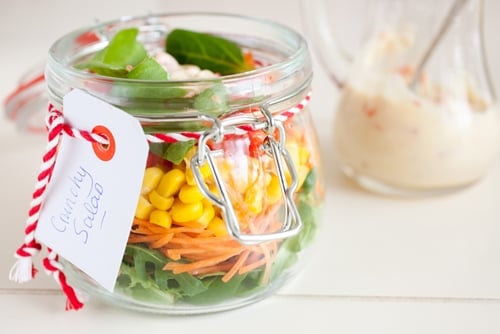
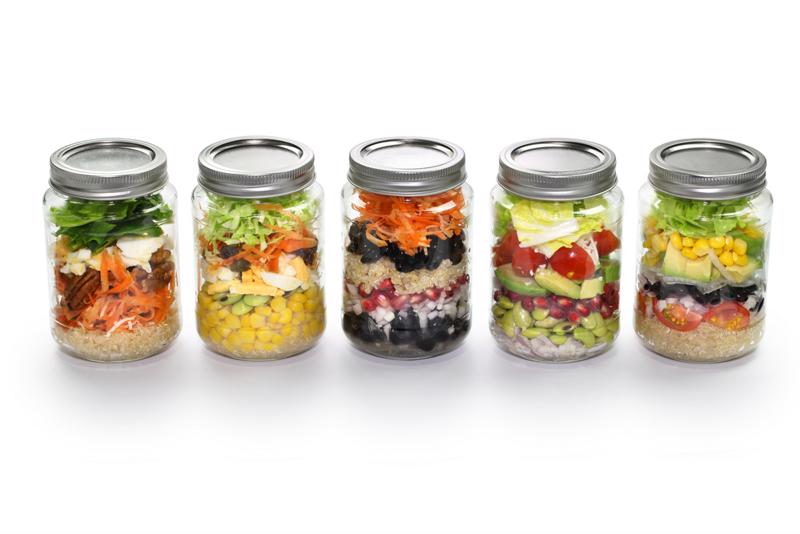
The best jar salads are made with the dressing already in the container with the greens and veggies, but those tender leaves won't get soggy during storage. That's because the salad is packed into the jar in layers that separate the wet ingredients from the dry, absorbent ones.

Here's the step-by-step breakdown.
- First layer - salad dressing: Add a few teaspoons of salad dressing into the bottom of the jar first. The exact amount depends on the size of the salad.
- Second layer - hard veggies: Next, toss in the vegetables that won't absorb much: celery, carrots, red onion, beets, peppers, etc.
- Third layer - pasta, grains, beans, rice: If you're adding any beans, corkscrew pasta, chickpeas, cooked rice or the like, put it in the third layer.
- Fourth layer - soft veggies and fruits: Add tomatoes, avocado, chopped strawberries or other soft and absorbent ingredients now that the dressing is separated.
- Fifth layer - protein: What's a salad without a little chicken, eggs, cheese or nuts? Add those in next.
- Sixth layer - leafy greens: Finally, throw in those leafy veggies that make up the bulk of the salad. Feel free to add pressure to compact them.
Packing and Eating
When you're done, seal the jars so the salad stays fresh right until you open them back up. When you do, break the seal, but keep the lid on to shake up all the ingredients inside, mixing together the dressing and everything else. This is a quick fix if you don't have a plate or bowl to empty the jar into.
Voila! You have a nice jar salad for lunch. Remember, if you're on the go, make sure not to tip the jar upside down, as this can cause the dressing to drip down and make the leafy greens soggy.


