2 Holiday Dishes You Can Make In Advance
- Tips and How To's
- 12/05/15
- Share
You show your family how much you love them by making delicious food. Preserve that warmth and love by gently vacuum sealing these delicious holiday recipes. Your loved ones will taste the hard work and caring that you specially crafted into each dish.

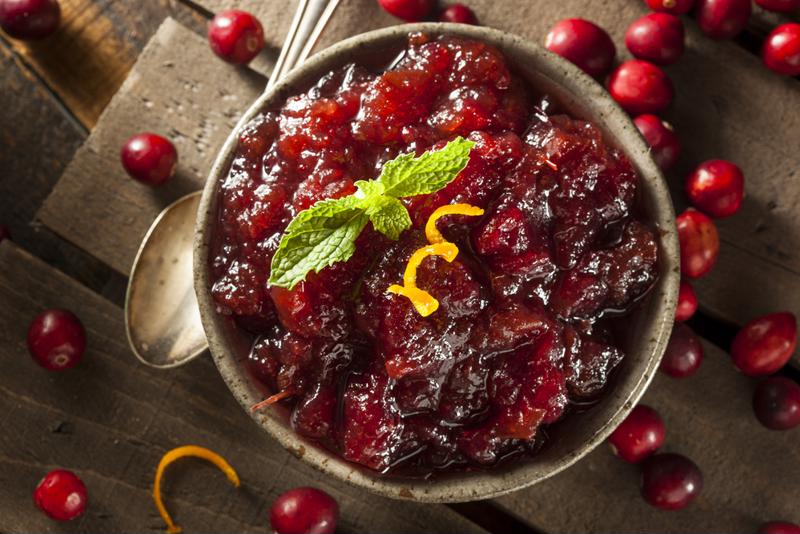
1. English Cranberry Sauce
When you're making a big dinner, there's often one dish that gets accidently ignored. By cooking ahead of time and vacuum sealing it for later, you can take the time to not only cook the ingredients to perfection, but to cook in the most important ingredient of all - love.
Ingredients:
- Juice from half an orange
- Zest from half an orange
- 1/2 cup ruby port
- 1/2 cup granulated sugar
- 1 apple, peeled, cored and chopped
- 1 pound of cranberries, frozen or fresh.
Directions
- In a saucepan, stir together the orange juice and zest, port, sugar, apple and cranberries.
- Bring the mixture to a boil, then reduce the heat to medium and simmer for twenty minutes, stirring at regular intervals.
- Once the cranberries have split open, remove from heat and allow to cool completely.
- Pour the sauce into jars and seal with the FoodSaver® Jar Sealer. Store in your refrigerator until ready to serve.

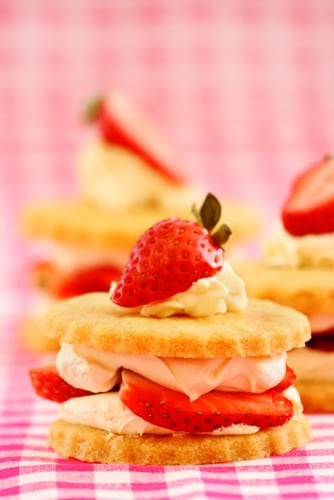
2. Peppermint Cookie Sticks
Many people like to bake cookies in the winter because it warms up the house and results in delicious treats. But if your home is full of holiday guests, you might not have the space or time to do much baking. Before the guests arrive, bake up a batch of tasty peppermint cookie sticks and have them ready and waiting.
Ingredients:
- 1/4 teaspoon salt
- 2 3/4 cups flour
- 1/4 teaspoon baking soda
- 1 cup butter
- 1 egg
- 3/4 cup white sugar
- 1 teaspoon vanilla
- 1/4 teaspoon peppermint extract
- Red and green food dye.
Directions
- Heat your oven to 350 degrees and line a 9-by-9-inch with plastic wrap.
- Lay out a sheet of wax paper and combine together the salt, flour and baking soda on top.
- In a mixing bowl, beat together the butter, egg, sugar and vanilla. When the texture is consistent throughout, pour the dry ingredients in and mix well.
- Divide the dough in half.
- Combine the peppermint extract with one half of the dough, then split it in half once more. Dye one half of the peppermint dough red and the other green.
- Spread the non-peppermint dough over the bottom of the plastic lined pan. then spread the colored dough on top so that one half is red and the other is green. Place the pan in the freezer for 10 minutes.
- Remove the dough from the pan and cut into 2-inch strips. Twist the dough until it resembles a candy cane.
- Bake for 12 minutes or until golden brown.
- Allow cookies to cool completely, then seal them with the FoodSaver® 2-In-1 Vacuum Sealing System. The PulseVac™ setting will ensure that the cookies do not get crushed in the process.


